
Unlock the Photo 3D Effect: A Practical Guide to Creating Viral Content
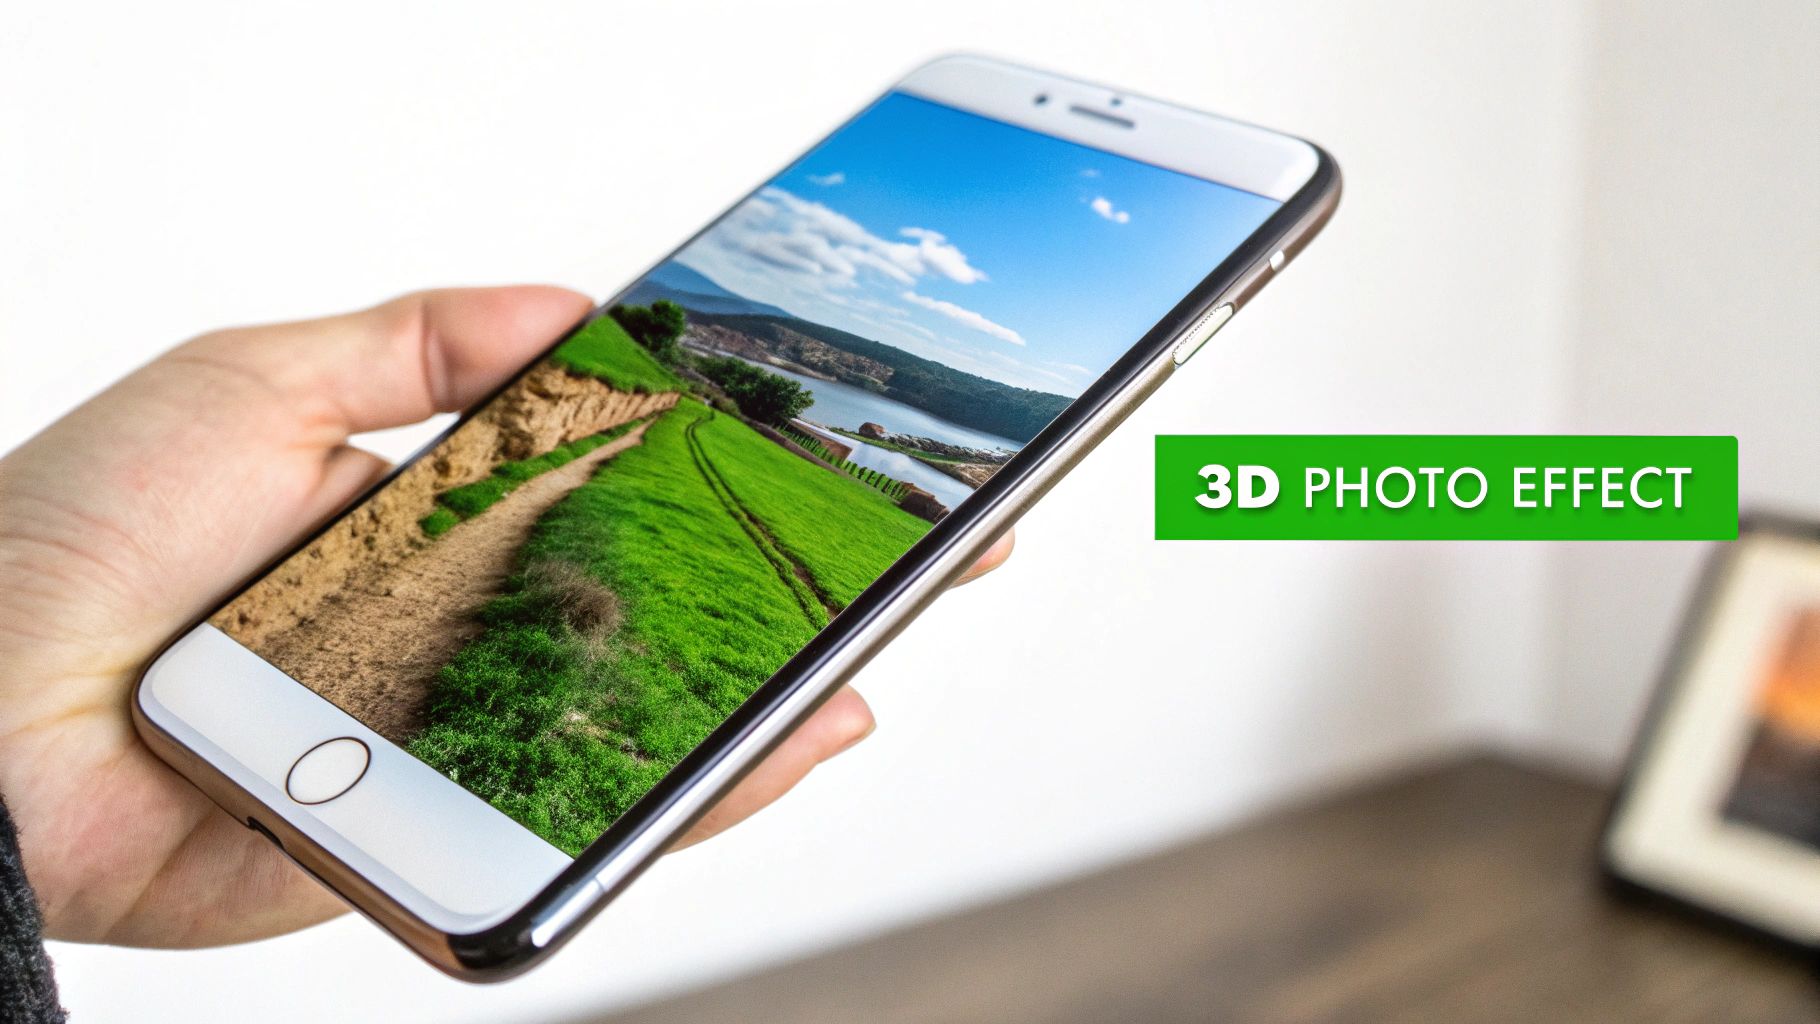
Ever scrolled through TikTok or Instagram Reels and been stopped in your tracks by a photo that seems to move? It's not a video, but it's not a static image either. That's the 3D photo effect—also known as parallax or the 2.5D effect—and it’s a game-changer for making your content pop.
This technique is all about breathing life into flat images, turning them into short, immersive videos that feel incredibly professional and engaging.
Understanding the Viral Photo 3D Effect
The magic behind this effect is surprisingly simple in concept: you're creating an illusion of depth. The process involves digitally separating a single photograph into different layers based on how close or far away objects appear.
Imagine a children's pop-up book. The trees in the front are one layer, a house in the middle is another, and the mountains in the back are a third. By moving these layers independently, you create parallax. This is the same visual cue our eyes use to perceive depth in the real world—objects closer to us seem to move faster than things far away. That simple trick is enough to convince our brains we're looking at a 3D scene.
Why It Dominates Social Feeds
This isn't just a cool visual trick; it's a smart content strategy. We’re trained to scroll right past static images, but the slightest hint of motion grabs our attention.
This effect is especially powerful for a few reasons:
- Boosts Engagement: Moving visuals hold a user's attention for a few crucial extra seconds. On platforms like TikTok and Instagram, that extended watch time signals to the algorithm that your content is valuable.
- Enhances Storytelling: Motion directs the viewer's gaze. You can slowly pan across a landscape or push in on a subject's face, adding a layer of drama or emotion that a still photo can't quite capture.
- Elevates Production Value: It just looks expensive. This technique adds a cinematic quality to your posts, making them feel high-effort without requiring a full-blown video shoot.
The goal is to transform a flat, passive image into a dynamic, active experience. This shift alone can completely change how your audience connects with your content, turning a simple post into a tiny, memorable story.
Two Paths to Creating the Effect
When you're ready to start, you have two main roads you can take. The first is the classic, manual approach, which usually involves software like Adobe After Effects. This path gives you complete creative control over every single detail, from how layers are cut out to the precise camera movements. It's perfect for projects where you need absolute perfection.
The other option is the AI-powered workflow. Newer tools, like MotionLaps, are designed to do all the heavy lifting for you. The AI handles everything from separating the layers to animating them, making the whole process incredibly fast. This is the route you want for creating content at scale without a massive learning curve. The AI can even get creative with things beyond motion, much like how AI style transfer can completely alter an image's artistic feel.
No matter which path you choose, you'll have the foundation to turn any photograph into a compelling piece of content.
Choosing the Right Image for Maximum Impact
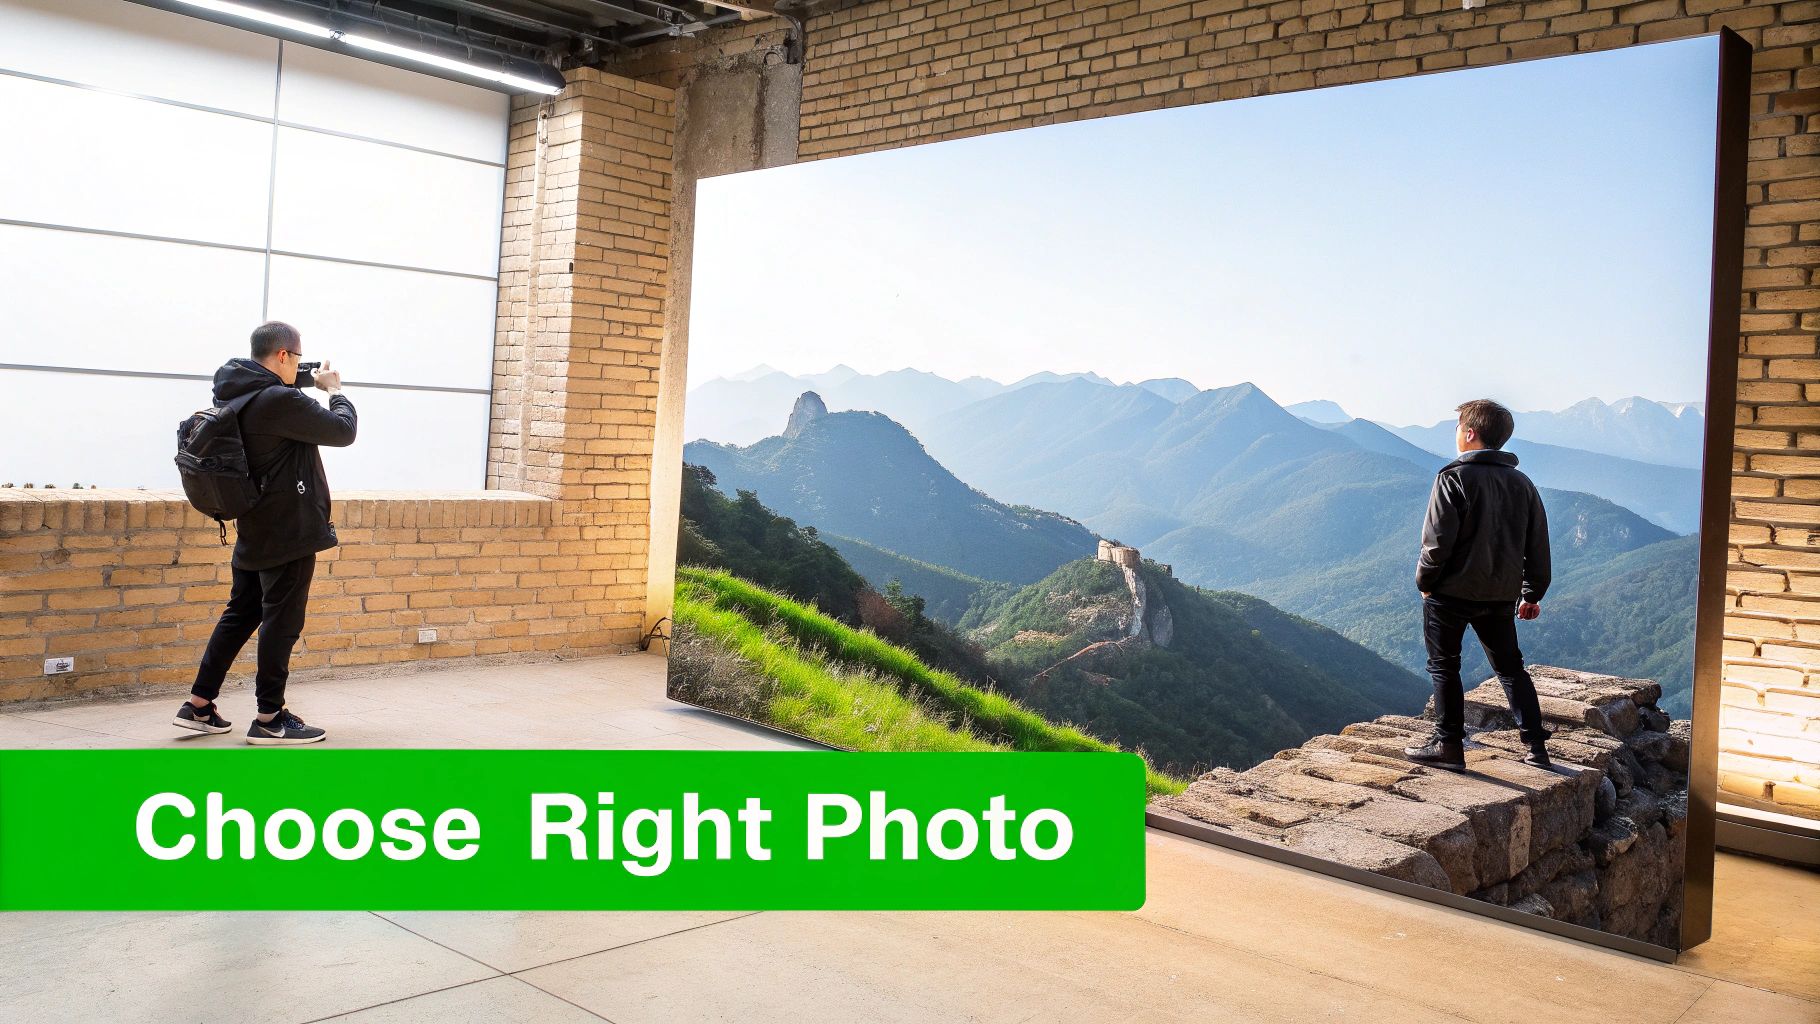
The real secret to a jaw-dropping photo 3D effect doesn't start with software or fancy animation tricks. It all comes down to the photo you choose from the very beginning. Honestly, this is the most critical decision you'll make, because not every image is built to create a believable illusion of depth.
Think about it this way: you need photos with clear, distinct layers. A great starting point is an image with a strong separation between the subject and everything else. For example, a portrait of a person standing a good distance in front of a mountain range is practically begging to be animated. On the flip side, a photo of someone leaning against a brick wall will fall flat—there's simply no depth to work with.
Spotting Natural Depth Cues
The best images already have visual clues baked right in that tell our brains we're looking at a 3D space. When you learn to spot these cues, you're halfway to a convincing parallax effect.
Keep an eye out for these elements:
- Leading Lines: Things like roads, paths, or fences that seem to vanish into the distance are gold. They naturally pull the viewer's eye through the scene and scream "perspective."
- Layered Scenery: Imagine a landscape with some rocks up close, trees in the middle, and mountains way off in the background. Each of those layers can move at a different speed, which is what sells the 3D illusion.
- Atmospheric Perspective: That slight haze or fog you see on distant objects? That's a perfect natural depth cue. It makes far-off elements look lighter and less distinct, clearly defining them as the background.
A strong image for a 3D effect gives your software a clear roadmap. The more distinct the layers are, the easier it is to separate them and the more realistic the final animation will feel.
Technical Checklist for Image Selection
Okay, beyond the artistic composition, a few technical details are non-negotiable if you want a professional result. Skipping these can leave you with a final video that looks blurry and pixelated, especially on modern phone screens.
First up, always start with high-resolution images. The animation process stretches and moves parts of your photo, and if the quality isn't there, it will show. A tiny, compressed JPEG you saved from social media won't cut it. Go for the original camera files whenever you can.
Next, check the focus and clarity. Your main subject should be tack-sharp. A slightly softer background is actually a bonus, as it helps with the separation. Steer clear of photos that are generally out of focus or have a lot of motion blur; they're a nightmare for both AI tools and manual editing. A clean, well-lit photo is the perfect canvas.
How to Create the Depth Maps That Make 3D Magic Happen
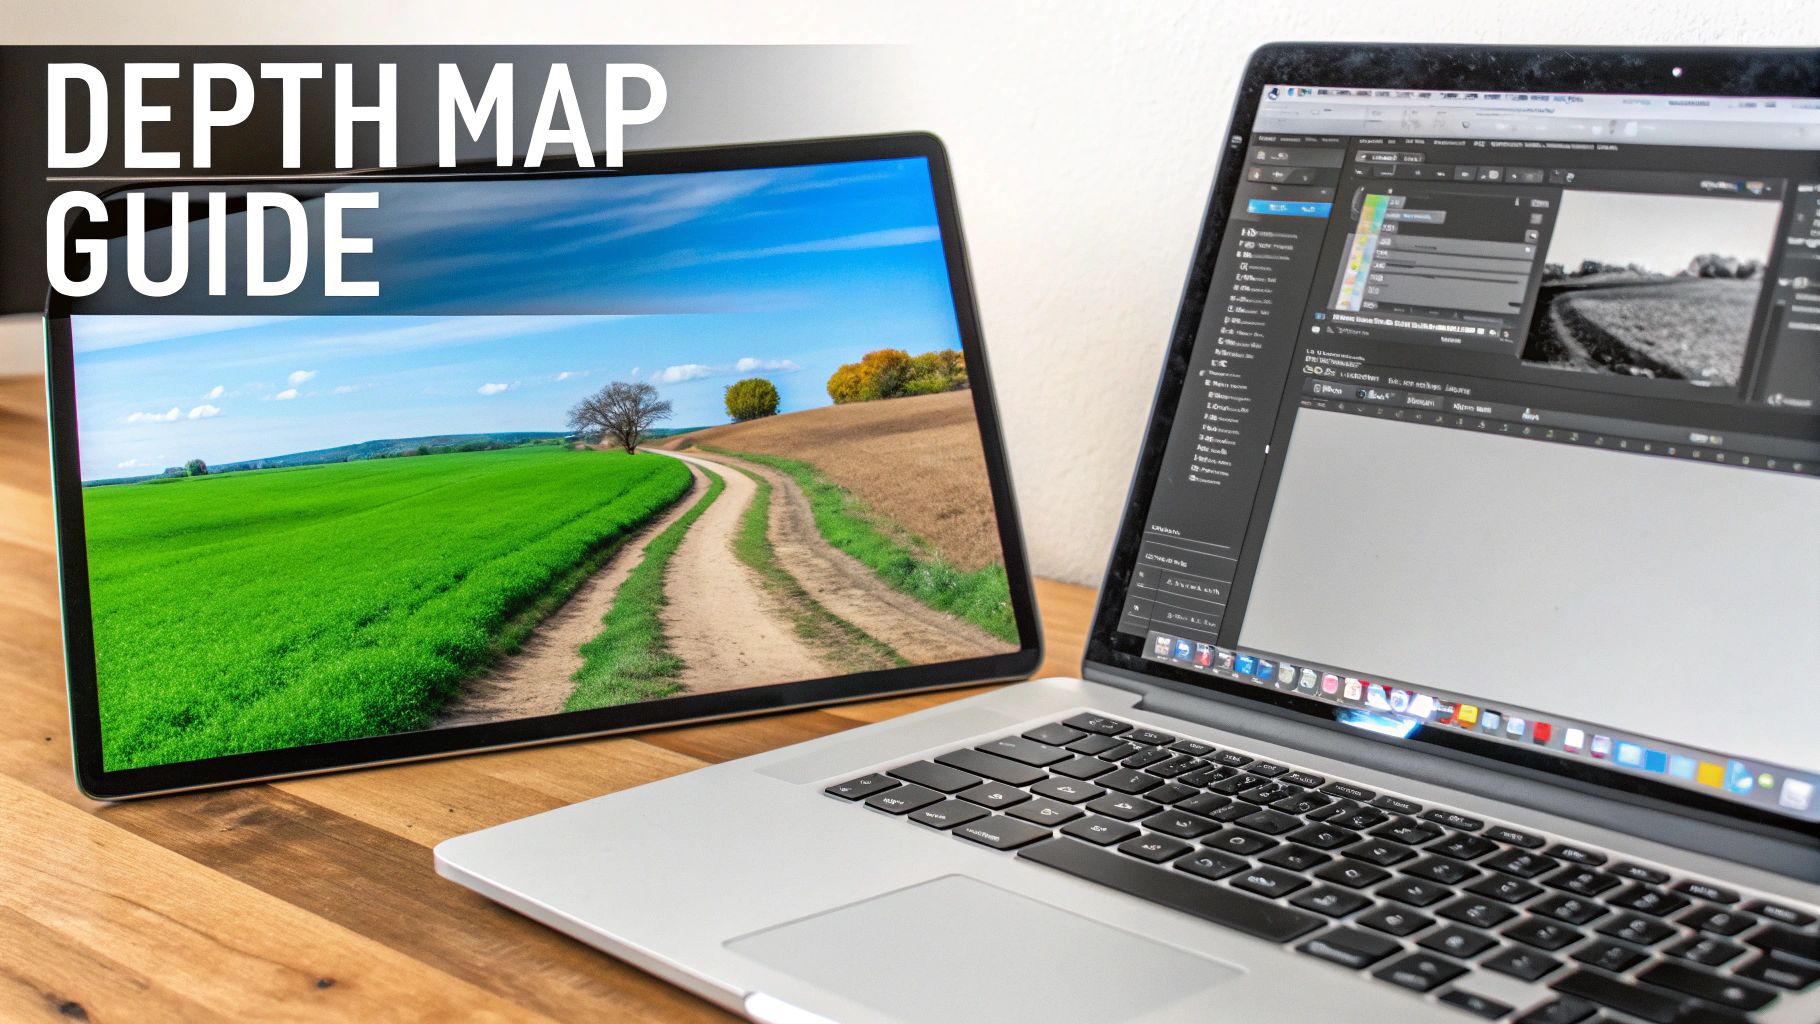
The depth map is the real secret sauce behind a convincing photo 3D effect. It's just a grayscale image, but it's the blueprint that tells our software how to perceive depth in a flat photo. Get this wrong, and the whole illusion crumbles into a distorted mess.
The core idea is simple: white is close, black is far. Everything in between is represented by shades of gray. When the animation software processes this map, it moves the white parts of the image more and the black parts less. This difference in movement creates the parallax effect that tricks our eyes into seeing depth. Nailing this step is what separates a slick, cinematic animation from something that just looks wonky.
The Manual Approach: For Total Control
If you're a perfectionist who needs every detail just right, your best bet is to create a depth map by hand in a tool like Adobe Photoshop. This is a very hands-on process where you essentially "paint" depth over your original image.
Using a soft brush, you'd paint the foreground elements pure white and the most distant background pure black. Then comes the artistic part: blending all the mid-ground elements with various shades of gray.
Let's imagine you have a photo of a person on a mountain trail:
- The person in the foreground would be painted almost solid white.
- The trail they're standing on would be a smooth gradient, starting with a light gray near their feet and getting progressively darker as it trails off into the distance.
- The faraway mountains on the horizon? Those would be solid black.
Yes, this method takes time. But the payoff is incredibly nuanced control over every single object, which leads to beautifully smooth and believable motion.
The AI Shortcut: Speed and Simplicity
For most of us creating content for social media, the manual process is a major time-sink. That's where AI-powered tools completely change the game.
Platforms like MotionLaps can analyze a photo and generate a surprisingly accurate depth map in a matter of seconds. The AI identifies objects, reads perspective cues, and understands focus to build the map for you. This is the modern evolution of an old idea; creating 3D from 2D dates back to stereoscopic photography in the mid-1800s. Early pioneers were trying to do the same thing, and a major leap forward was the anaglyph method from 1891 that made 3D effects more accessible.
Today, AI does the heavy lifting for us, cutting production time by as much as 90%. If you're curious, you can explore the fascinating history of 3D technology and its evolution to see just how far we've come.
Key Takeaway: A good depth map has smooth, gradual transitions from white to gray to black. A bad one has sharp, hard edges, which is why some 3D photos look like a bunch of flat cardboard cutouts sliding around.
Ultimately, your choice depends on the project. For a big-budget commercial, the meticulous detail of a manual map might be worth the effort. But for producing engaging social media content day in and day out, the speed of AI is a lifesaver.
Bringing Your Photo to Life with Parallax Animation
Now that you have your source image and its matching depth map, it's time for the magic. This is where we’ll animate a virtual camera to create that signature parallax motion, turning a static picture into a living, breathing scene. All that prep work is about to pay off.
The basic idea is to bring both your photo and the depth map into video editing software that can handle 3D displacement. The software reads the depth map’s grayscale information—white for close, black for far—and uses it to push and pull the pixels of your photo in 3D space. Your flat, 2D image essentially becomes a 3D mesh that a virtual camera can fly through.
This technique has deep roots. Back in the 1960s, pioneers like William Fetter with his 'Boeing Man' and Ivan Sutherland's Sketchpad laid the groundwork for representing 3D forms on a computer. By the 1970s, Edwin Catmull's work on texture mapping made it possible to wrap photographic images onto 3D surfaces, which completely changed the game for realistic animation. You can actually read more about the origins of 3D rendering and its history if you're curious.
Crafting Believable Camera Movements
The secret to a convincing animation is simple: be subtle. If your camera movement is too fast or jerky, the illusion shatters instantly. You want to mimic how a real camera would move—smoothly and deliberately.
I always start by setting keyframes for my virtual camera's position at the beginning and end of the clip. Here are a few of my go-to camera moves that work wonders on almost any image:
- The Slow Push-In: Gently move the camera forward, as if you're dollying into the scene. This is perfect for building a little drama and pulling the viewer's eye toward a key subject.
- The Gentle Pan: A slow, steady sweep from left to right (or vice versa) works beautifully for wide landscape shots. It gives the viewer a moment to soak in the entire scene.
- The Subtle Arc: This one feels incredibly cinematic. Combine a slow push-in with a slight sideways pan to create a feeling of circling the subject.
For short-form video on platforms like TikTok or Instagram, I’ve found that an animation duration of 5 to 8 seconds is the sweet spot. It’s just long enough to show off the effect without losing your audience's attention.
Adding Pro-Level Atmospheric Effects
To really sell the sense of depth, you need to think about atmosphere. These are the tiny details that trick the brain into believing the scene is real, not just a picture being warped around. They should be subtle—almost invisible at first glance—but they make all the difference.
Adding particles or a light haze helps blend the different depth layers together. It makes the foreground, midground, and background feel like they all exist in the same physical space.
Think about adding small touches like:
- Floating Dust Motes: A few slow-drifting dust particles, especially in a shot with sunbeams, can create a tangible sense of air and space.
- Gentle Snowfall or Rain: If the photo's mood fits, adding weather effects is a fantastic way to introduce movement and depth. Flakes or drops closer to the camera will naturally appear larger and move faster.
- Embers or Light Flares: For a scene with a campfire or a bright light source, adding a few glowing embers or a lens flare enhances the mood and adds another layer of dynamic motion.
These little extras are what separate a good video from a great one. It's often where powerful AI video editing software can save a ton of time by simplifying these otherwise complex effects. These details create a much more immersive experience, making the viewer feel like they’re looking through a window into a real 3D world.
Letting AI Do the Heavy Lifting: Automating the 3D Photo Effect
While diving into After Effects and crafting the parallax effect by hand gives you ultimate creative control, let's be realistic. For most creators churning out daily content, that manual process is a massive bottleneck. The hours just melt away on a single animation, and that's time you probably don't have.
This is where AI automation steps in and completely changes the game.
Tools like MotionLaps are built to deliver that slick photo 3D effect in a matter of minutes, not hours. The entire workflow is flipped on its head, prioritizing speed and efficiency. Forget about painstakingly separating layers or setting camera keyframes. Here, you can start with nothing more than a script or a simple idea, and the AI handles the entire production line.
From a Simple Idea to a Finished Video
So, how does this actually work in practice? Imagine you need a quick video ad for a new product launch. With an AI platform, the path is incredibly direct.
- You start with the concept: Just feed the tool a text prompt or a short script outlining your announcement.
- AI generates the visuals: The system creates a unique, high-quality image that perfectly matches your script.
- The magic happens: It then automatically applies a dynamic parallax effect, bringing the static image to life with 3D motion.
- It’s a full production: To top it off, the AI can add a professional voiceover and find the right royalty-free background music, giving you a finished video.
This whole process boils down to a few core stages: preparing the asset, animating it, and then adding those final enhancements to make it pop.
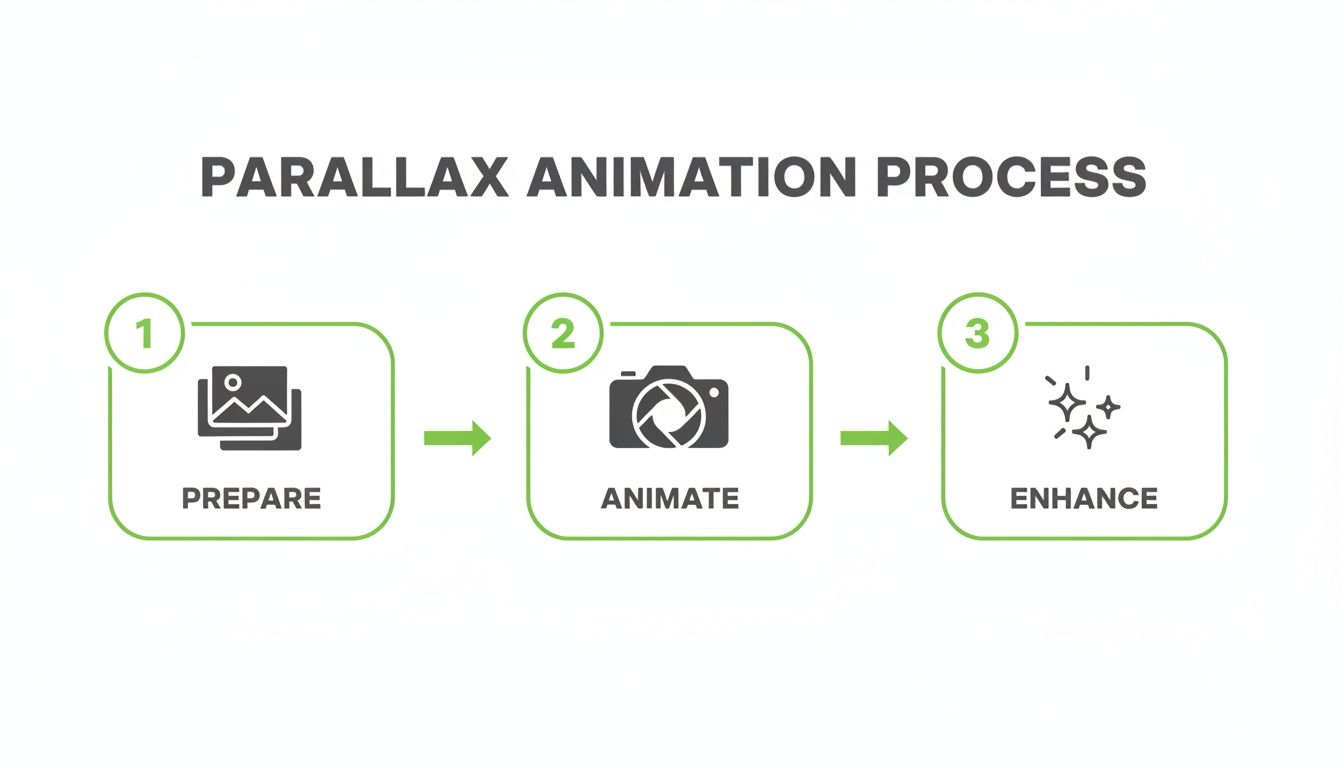
As you can see, the AI essentially takes a complex, multi-step creative process and turns it into a streamlined, hands-off operation.
Case Study: A Social Media Manager's Workflow
Think about a social media manager promoting a new seasonal coffee blend. Creating animated ads for every platform manually would be a huge time sink. But with an AI tool, they could take one product announcement script and generate ten different animated video ads in less than an hour.
Each video could have a unique AI-generated image and slightly different camera movements, making it perfect for A/B testing on TikTok and Instagram Reels. This manager can achieve a massive level of output without ever touching a single keyframe or opening a complex video editor. It’s all about working smarter, allowing creators to focus on strategy instead of getting bogged down in tedious technical work.
This leap from manual editing to AI generation feels a lot like the evolution of CGI in movies. The 80s and 90s gave us mind-bending films like Tron (1982) and Jurassic Park (1993), but Toy Story (1995) showed the world what a fully CGI feature could be. Today, AI gives that same kind of power to solo creators, letting them produce studio-level results from a simple script.
For anyone looking to go deeper into AI-driven tools for visual effects and 3D automation, it's worth checking out Auralume AI's offerings. And if you're curious about the wider world of AI video, we've put together a guide on the best AI video generator for different kinds of projects.
As you dive into creating the photo 3D effect, you're bound to run into a few questions. Getting a handle on these common stumbling blocks early on can save you a ton of frustration and let you focus on the fun, creative parts. Let's walk through some of the most frequent questions I hear from creators.
Can I Just Do This On My Phone?
You absolutely can. Apps like CapCut have built-in "3D Style" templates that get you a basic version of this effect with a single tap. They're great for hopping on a quick trend or whipping up something casual to share with friends.
But here’s the trade-off: those templates give you next to zero creative control. You can’t tweak the depth, refine the camera movement, or isolate specific parts of the image. For a polished, professional look where you’re in the driver's seat, you really need to jump over to desktop software or a dedicated AI platform that offers more precision.
What's the Biggest Mistake People Make?
The single fastest way to ruin a 3D photo animation is picking the wrong image. If you start with a "flat" photo—one without a clear foreground, midground, and background—the final result will never look convincing. Think of a person standing directly in front of a flat brick wall; that’s a classic example of what not to use.
The second most common pitfall is over-animating. It's so easy to get carried away and make the camera movement dramatic and fast, but that almost always looks cheesy and amateur.
Pro Tip: The best parallax animations are subtle. Go for slow, smooth, and gentle movements. Your goal is to create a believable sense of depth, not a jarring, fast-paced ride that shatters the illusion.
How Long Does This Take to Do Manually?
Even for a skilled editor using a tool like Adobe After Effects, creating a high-quality, 15-second 3D photo animation is more time-consuming than you might think. A realistic estimate for the entire workflow is anywhere from 30 minutes to 2 hours for just one clip.
That time breaks down into several key steps:
- Finding the right shot: Sourcing an image with great depth cues.
- Building the depth map: Manually painting or cleaning up the grayscale map.
- Setting up the scene: Importing everything and configuring the 3D displacement.
- Animating the camera: Carefully placing keyframes to guide the virtual camera.
- Rendering it out: Exporting the final video file.
This is exactly why AI tools have become such a game-changer. They can take that entire multi-hour process and shrink it down to just a few minutes. It opens up the ability to create this kind of engaging content at scale, without the steep learning curve or massive time commitment.
Ready to skip the manual grind and create stunning 3D photo animations in minutes? MotionLaps uses AI to turn your ideas into viral-ready videos effortlessly. Just provide a script, and our platform handles the rest—from generating visuals to adding voiceovers and music. Create professional content at scale by visiting us at https://motionlaps.ai.